You probably already know that you can recondition an old car battery such that it gets back to working like new. But, do you know exactly how the reconditioning process works? Is it enough to take a standard battery charger and recharge your old battery until it regains full working capacity? Not really. You see, batteries that have been in storage for a long time usually have some sulphuric build-up on their lead plates. This is known as sulfation, and reversing this process is an important part of battery reconditioning.
There are several commercial battery desulfators that you can choose from. However, they can be a bit costly. The good news is that you can actually build your own desulfator for a much lower cost. Following are instructions on how to build a battery desulfator that is small enough to fit inside an Altoids can. Just remember to wear protective gear and eyewear before you start working on your desulfator.
Iron Solder
The first thing you need to do is prepare all the components for building your battery desulfator. Using a double-adhesive tape, attach a piece of perf-board to the bottom (on the inside) of an Altoids can. Take some adhesive copper foil and affix it to the bottom of the perf-board. This will serve as the desulfator's ground bus. Arrange a field-effect transistor as well as two switches, resistors, pots, and one LED onto the board such that it requires only the shortest possible length of wire connections. Secure each component into place with strong glue. For insulation, attach thin cardboard around the perf-board using a double-adhesive tape.
Now you are ready to drill the necessary holes into the Altoids can. The first hole goes into the left side of the can. This hole will be used for the lead-acid battery desulfator's output wires. Take note that the wires should not directly touch the Altoids can. Therefore, be sure to attach a rubber grommet to the hole. Next, drill three holes into the other side of the can and then drill one hole into the can's lid. The hole on the lid will allow you to observe the LED when your lead-acid battery desulfator is in use. You should also make holes in the insulation cardboard wherever they come into contact with the wire holes and vent holes you just created.
Finally, it is time to solder the necessary wires. Be sure to choose thick but flexible lead wires for your battery desulfator and keep the cables that lead to the battery as short as possible in order to prevent losses. Connect the wires and then secure them with the use of 60/40 solder and a thin-lipped soldering iron. It is advisable to hold a wire in place with pliers while you are soldering to make sure that it is attached properly. You may take parts from some surface-mount components and use them as electrolytic capacitors. Finally, solder the wires into these capacitors.
You are now ready to use your desulfator by connecting it to your battery using output leads and clips. There you have it - your quick guide on how to build a battery desulfator.
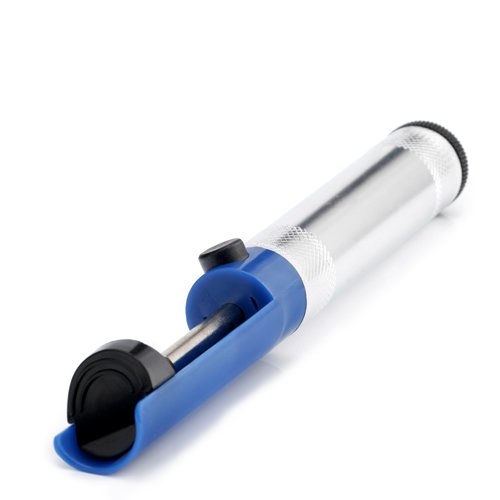
Special Price!!! Solder Sucker
Click for larger image and other views

Solder Sucker Feature
- Simple design allows easy one-handed use
Solder Sucker Overview
Fast action, heavy duty desoldering pump. Simply heat up solder joint and push button. Automatic nozzle cleaner. Display packaged. Standard replacement tip #370-031. Length: 8".SAVE NOW on the special offers below!
Available In Stock. |
| This Solder Sucker ships for FREE with Super Saver Shipping. |
Price : Click to Check Update Prices Please. |

Limited Offer Today!! Solder Sucker Black Friday and Cyber Monday Deals
Panasonic Home Theater Speakers Biographies & Memoirs Books Big Lava Lamps